D50 RAW to HDR tutorial.
NEW TUTORIAL FROM 2009 HERE!

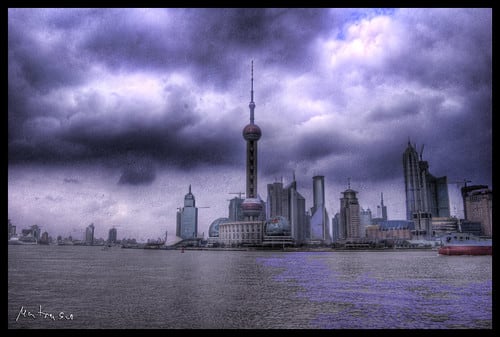
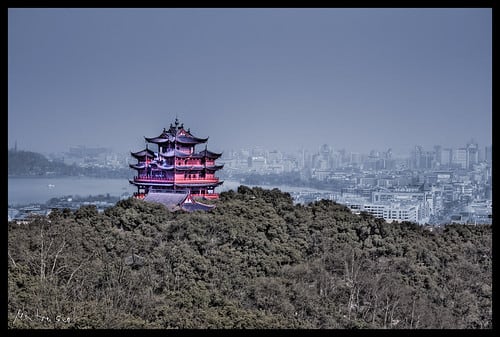
Here it is, the promised Nikon D50 HDR tutorial or 'How To Make A HDR Image Out Of A Single RAW file'. Do you want to make a image like the one above? Then read my tutorial and try for yourself. Now I didn't teach everything myself, I learned a lot from 'stuck in customs', but there are some things I do different. Let's get started.

01: Take a picture. Well, obviously you're going to need a image to start with. So set the D50 to RAW mode, go out and find something interesting. I haven chosen this picture for this tutorial as it has colorful buildings as well as clouds. When it comes to clouds, it gets really interesting. You can also download the RAW file I use for this tutorial here and go step to step through the tutorial with my file: http://jakob.montrasio.net/wp-content/uploads/2007/shanghai.nef
This is what my chosen image would look like after dropping it in Photoshop and performing Auto-Colorcorrection. Pretty ugly, right? Let's make it more beautiful with HDR.
02: Copy the RAW file to your computer.
03: Fire up Photomatix Pro.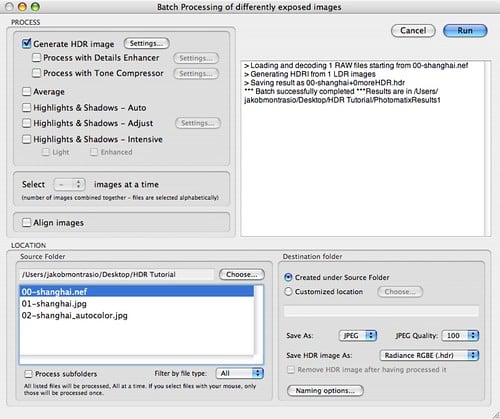
04: Go to 'Automate' then 'Batch Processing'. Now locate your RAW file folder in the 'LOCATION' area and select your RAW file (ending with '.nef' as for Nikon D50 files) and hit 'RUN'. It will take a couple of seconds, then it will say '*** Batch successfully completed ***'. Hit 'Cancel', go to 'File' and hit 'Open...' - now browse to the folder where your RAW file was lying around, there should be a folder called 'PhotomatixResults1' now. In there is one file with the ending '.hdr', select it and hit 'Open'.
05: That's what you see after a short loading. Photomatix has opened your HDR file, now let's edit it. Click on 'HDR' then 'Tone Mapping'.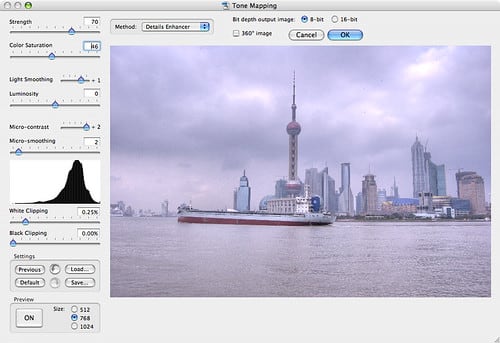
Now we've reached the most important feature, the 'Tone Mapping'. Now come the HDR settings. Play around with everything as you like now, and see the preview image change as you change settings. The slower the computer, the longer it takes for the preview image to reload. Take your time and try everything out to understand what does what. Don't change the 'Method', though. Done? Okay, now try to set everything like this:
Now we have few dark areas, the image has an overall bright tone. The shadows are 'taken'. Click on 'OK. Then go to 'File' and save it as a tiff file. Don't close Photomatix, we want to make the sky scarier now. You have this file now as a tiff: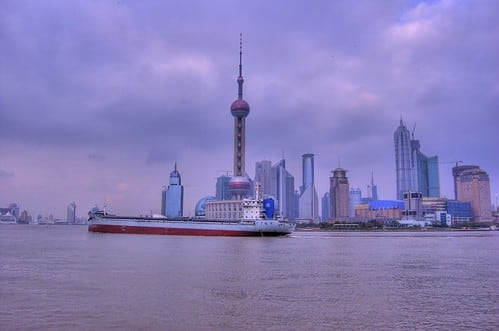
After saving, go to'File' again, then 'Open recent' and open the '.hdr' file again. Now we save it with different settings: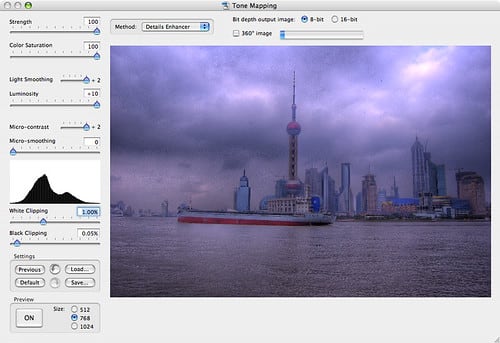
Save again as a tiff, and look at it. The sky is much more interesting now, but the buildings are much darker now, too: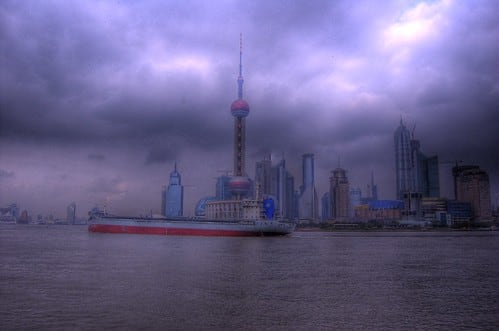
So what do we do? We will open both files in Photoshop and keep the scary sky together with the bright buildings. But to get the sky easily selected, we should make a bright image with better contrast. Then we can select the sky much easier in Photoshop. So do this now, open the '.hdr' a third time in Photomatix and Tone Map it with the 'Tone Compressor' method as shown here: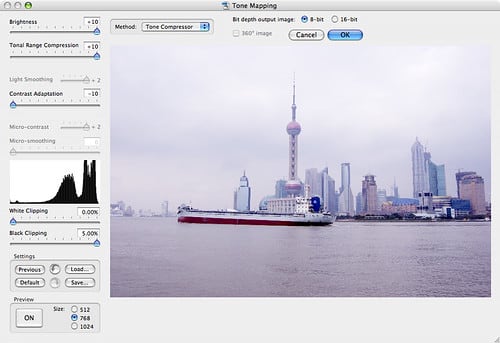
Now you save it as the third and last file out from Photomatix. This is what you third tiff should look like:
Open that file in Photoshop and start selecting the sky with the 'Magic Wand' tool. Set it to 10 and click around. After a couple of seconds you should have easily selected the sky like this: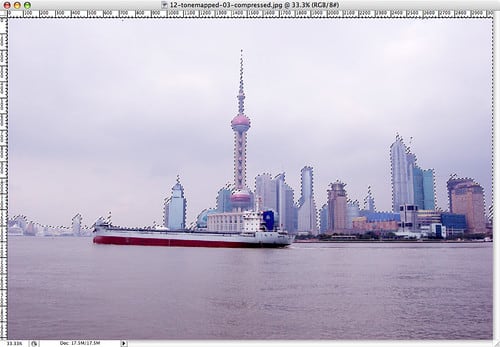
Let's save that selection. Go to 'Select' and choose 'Save selection...', so we can load it on the other images.
Now open the first two HDR images you created. Drop the one tiff onto the other one and make copies. Your layers should look something like this: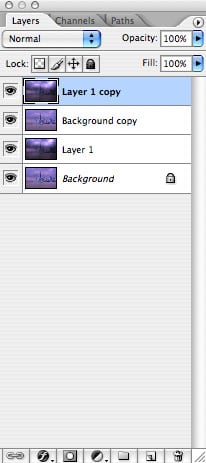
The really bright, third HDR file has not to be here, leave it out. Now you have the scary sky as the top layer, followed by the bright HDR image on the layer below, right? So select the top layer with the scary sky, go to 'Select' and coose 'Load Selection...'. Now choose the selection of the bright image, and invert it: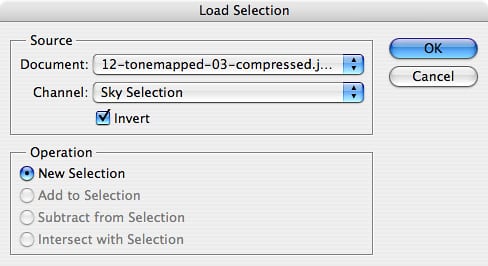
Now you have easily loaded our previous selection onto the scary sky layer and inverted it: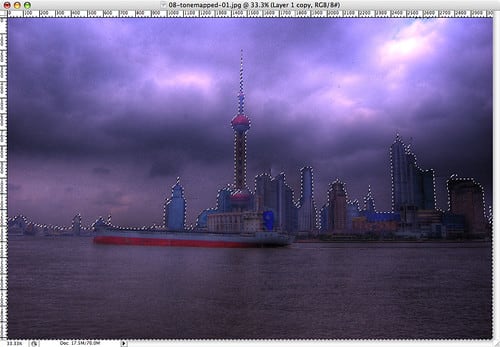
Hit delete, and remove everything but the sky from the scary sky layer. Now it looks like this:
The border between the buildings and the sky looks 'hard', so let's make it softer, and let's take some of that grain out of the clouds. Go to 'Filter', 'Blur' and select 'Gaussian Blur...'. You have to still have selected the top layer, right? The scary sky. Set the Radius of the Gaussian blur to 2. Apply these settings. Now the image looks much smoother and is finished: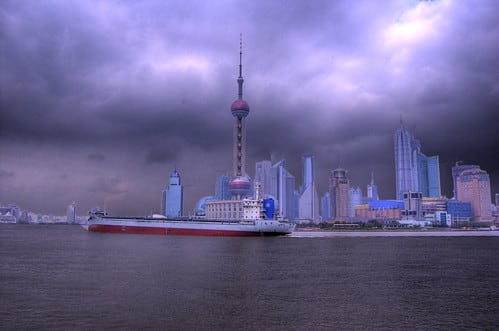
You might want to add a border and a signature, so go to 'Image', and 'Canvas Size' - now add to the width and height both 100 pixels:
Now you have a black border, drop some signature there, type your name there or whatever, and save it. This is the final result.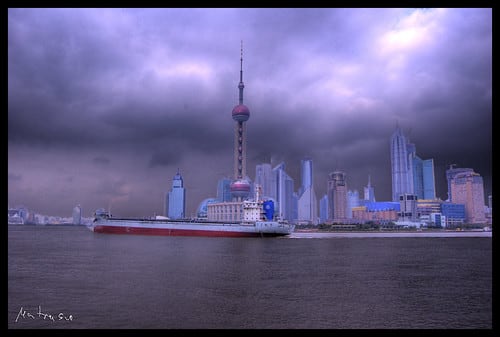
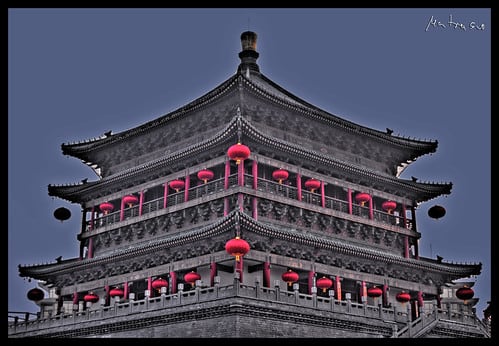
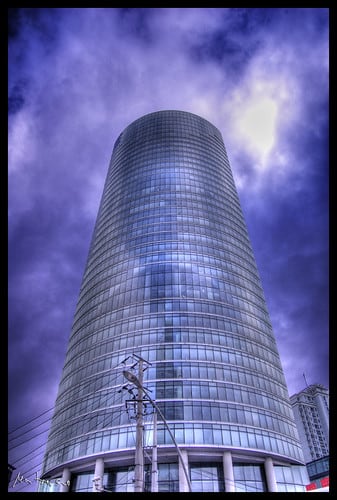
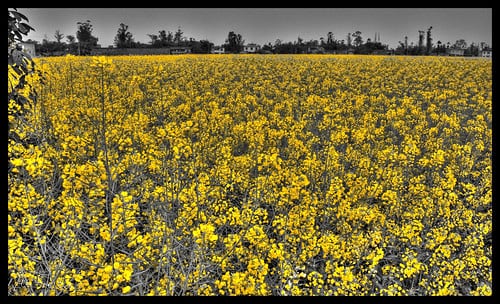
Okay, let's review the steps: You open your RAW file in Photomatix, you save it with different HDR settings, you open these in Photoshop and combine them there. Pretty simple and efficient. Sure, the image here won't win any awards, but it's especially for this tutorial. Like with almost everything in life: Practice, practice, practice! That's the only way to become better and better. My HDR images are still horrible, as I have very limited time to work on them, but anyway, I hope this tutorial helps people who want to start making HDR at all. Here are some other HDR images I created from a single RAW file.